Mat Cutting
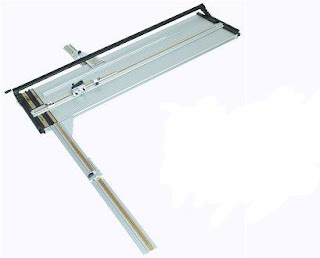 I use a 48" Keencut Ultimat Gold mat cutter. I have it installed in a custom built mat cutting table such that the cutting surface of the mat cutter is flush with the top of the table. The right hand squaring arm for this mat cutter is removable without using any tools, so I accommodated that too in the table design. I use it to cut a bevelled edge on 4-ply, and 8-ply mats as well as for sizing mats and foam boards. I got this mat cutter due to its 20 year guarantee, so I have peace of mind.
Timber Moulding Cutting
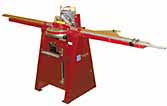 For cutting timber moulding to size, I use a manual Cassese CS55 chopper. This equipment has a very similar design to the Morso chopper, made famous by Morso of Denmark, are foot powered, they work through the use of a guillotine cutting principle. Unlike a saw, choppers do not produce sawdust, so it is perfect for a garage situation like I have. The finish produced by these choppers are very smooth, and they are ready to join immediately after cutting even without sanding it to size. They are a workhorse, and deadly accurate too. Just make sure the blades are super sharp.
Frame Joining
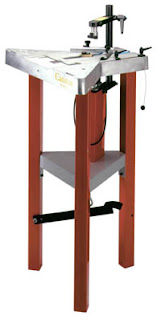 I use a Cassese CS88 Foot-operated underpinner for joining my frames. Same as my other machines, it is yet again foot powered so I don't need to purchase a compressor anymore, but more importantly, I don't really have space for it in the garage. When joining frames with the underpinner, I use a wood glue called Corner Weld, of all the glues I have used, I think this is the best, quick setting (only 5 minutes clamped) and doesn't dry rigid, it dries soft and pliable.
Multi-Material Cutting
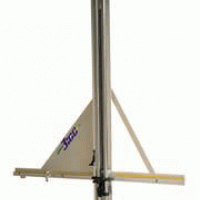 For cutting different materials such as mat boards, foam boards, glass, gatorboard, MDF, plastic boards and others, I use a Fletcher F-3100 multi-material cutter. Initially I thought that this equipment was not necessary when building a new frame shop, but after using it for a while, I should have bought it since day one. It saves so much time in cutting all these materials since it removes the need to mark the boards prior to cutting, and it also has production stops for repeat work, and it saves table space since it is wall-mounted.
Mounting and Laminating
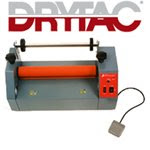 I use a Drytac Jetmounter JM26 Mounter / Laminator for mounting and laminating all prints. It is electric, but it's silent operation make it perfect for my garage setup. You don't even know it is turned on until the buzzer beeps when your hand is situated too close to the rollers.


